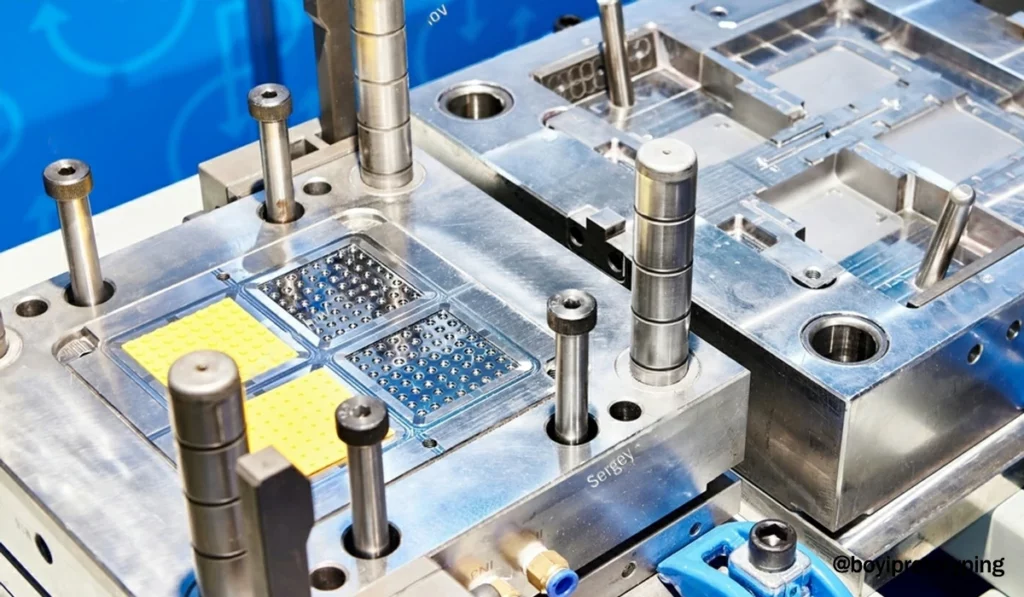
Venting in injection moulds refers to the process of allowing trapped air and gases to escape from the mould cavity during the injection of molten plastic. Proper venting is essential to ensure defect-free moulded parts, maintain mould longevity, and ensure efficient processing.
Why Venting is Important
When molten plastic is injected into a mould cavity, it displaces the air already present inside. If this air is not properly vented out, it can cause several defects, including:
Short shots (incomplete filling of the cavity)
Burn marks (caused by compressed, overheated air)
Flow lines
Poor surface finish
Dimensional inaccuracies
Additionally, trapped gases from the degradation of the plastic material can contribute to similar issues.
Sources of Gases in the Mould
Air trapped in the cavity
Moisture in the plastic material (hydrolysis)
Volatile substances from the plastic (decomposition gases)
Lubricants or additives present in the polymer
Methods of Venting
1. Venting through Parting Lines
Small gaps (typically 0.01–0.05 mm deep) are machined at the parting surfaces of the mould.
These vents are designed to allow air to escape while preventing plastic from leaking through.
2. Venting through Ejector Pin Holes
Some air can escape through clearances around ejector pins.
Not very efficient alone but may assist other venting methods.
3. Venting Channels
Dedicated venting grooves are machined into non-critical areas of the mould.
These channels can direct air to the outside.
4. Porous Inserts or Materials
Porous metals like sintered steel allow gases to pass through while retaining the plastic.
Used in complex or enclosed cavity areas where traditional venting is difficult.
5. Vacuum Venting
A vacuum is applied to evacuate the air from the cavity before injection.
More common in high-precision or large part moulding.
Design Considerations for Vents
Depth: Typically 0.01–0.05 mm (varies by material)
Width: Often between 3–6 mm
Location: At the end of flow paths, corners, and areas where air is likely to be trapped
Length: Long enough to lead the air out of the mould cavity
Problems Due to Poor Venting
Incomplete filling (short shots)
Burn marks or dieseling (oxidation or combustion of trapped gases)
Voids or bubbles inside the part
Increased mould wear (due to gas corrosion)
Part sticking due to vacuum effect
Maintenance of Vents
Vents should be regularly cleaned, as plastic residues can block them.
Damaged vents should be repaired to avoid flash or leakage.
Ensure vents are free from burrs or sharp edges that may cause stress concentrations.
Conclusion
Proper venting in injection moulds is a critical factor in producing high-quality plastic parts. It not only helps in preventing common moulding defects but also extends the life of the mould and improves overall cycle time. Careful design, regular maintenance, and correct placement of vents can significantly enhance moulding performance and product quality.